Mail Merge
Mail Merge is a very effective and useful tool which can be used to combine different applications of Microsoft Office.
Some of these applications would be:
- Creating a standard letter to send to a list of people.
- Working with a data source, editing and modifying records.
- Creating a Mail Merge using an Excel document as your data source.
- Adding field codes to your merge document to allow flexibility when preparing the document.
- Using the same data source to create merged labels, envelopes and a directory.
Below are guides on how to use Mail Merge:
-
Create a Recipients List
When you run a mail merge, Word pulls names, addresses, and other information directly from your Excel spreadsheet into the email messages, labels, envelopes, or documents you’re creating. The merge runs more smoothly if all the information you want to include is ready.
- The columns in your spreadsheet match the fields you want to use in your merge.
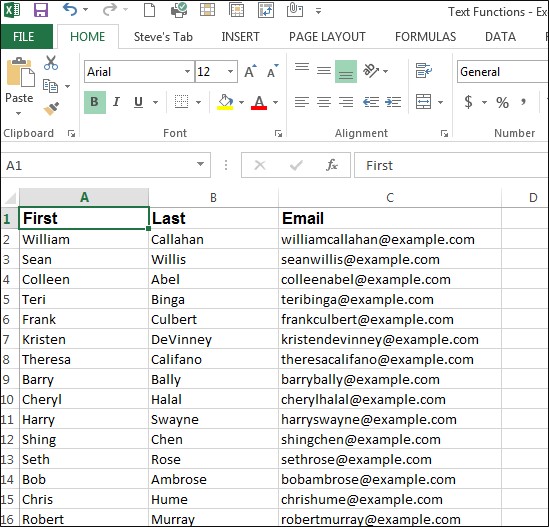
- For example, to address readers by their first name, make sure you have separate columns for first and last names. If you want to sort by city, be sure you have a separate City column.
- All the data you want to merge is in the spreadsheet.
- If you want to add more names or other information, it’s best to make those changes now—before you start the merge.
- Number formatting won’t change.
Here is an example of a list in Excel.
Save your data and get ready to import the information to your document.
- The columns in your spreadsheet match the fields you want to use in your merge.
-
Creating the Mail Merge
In Word, open a new document.
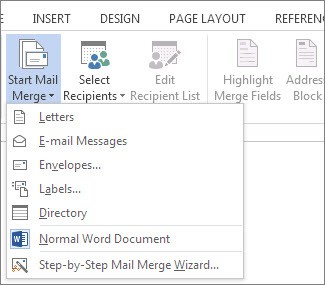
Click Mailings > Start Mail Merge, and then select the type of merge you want to run.
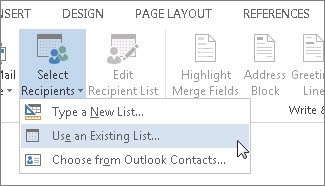
Click Select Recipients > Use Existing List.
Browse to your Excel spreadsheet, and then click Open.
If Word prompts you, select Sheet1$ and click OK.
Now the Excel spreadsheet’s connected to the mail merge document you’re creating in Word.
To include only some of the people or items from your spreadsheet, click Mailings > Edit Recipient List.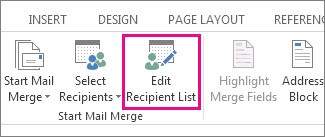
The Mail Merge Recipients box opens. Here, you can select just the rows you want to include. To make them easier to find, you can sort and filter the information. For more information about sorting and filtering items.
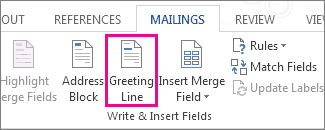
Next, you can insert mail merge fields that pull the information from your spreadsheet into your document. For example, to add a greeting line to an email message or a letter, click Mailings > Greeting Line.
Or add addresses from your list by clicking Mailings > Address Block. For more information about adding fields from your spreadsheet.
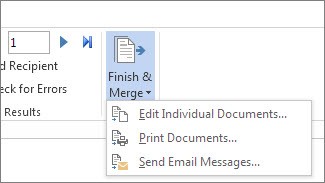
When your document’s ready, click Preview Results and click the arrows to see each specific copy of the document.
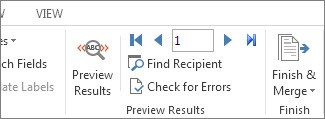
To finish the merge, click Finish & Merge, and then click Print Documents or Send E-mail Messages.