
Story Map 101
Story Map 101 Video Resource
Click the link below to view the step-by-step video resource on how to create a story map.Passcode: h4dyMc3?
Story Map 101
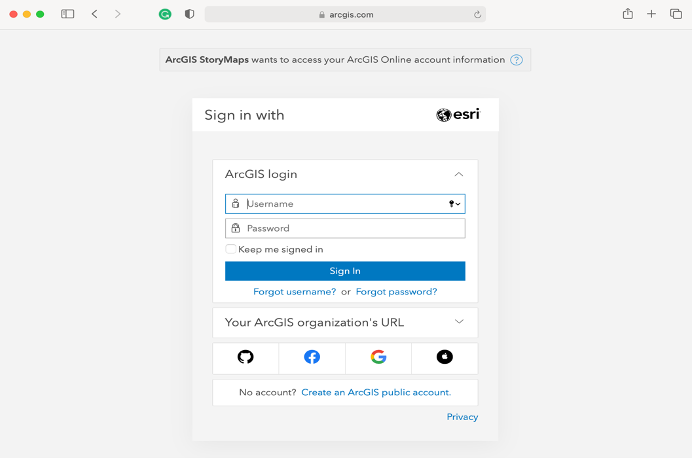
- Go to storymaps.arcgis.com
- Click “Sign In” (even if you do not have an account yet).
- If you do not have an account, create an account (it is free).
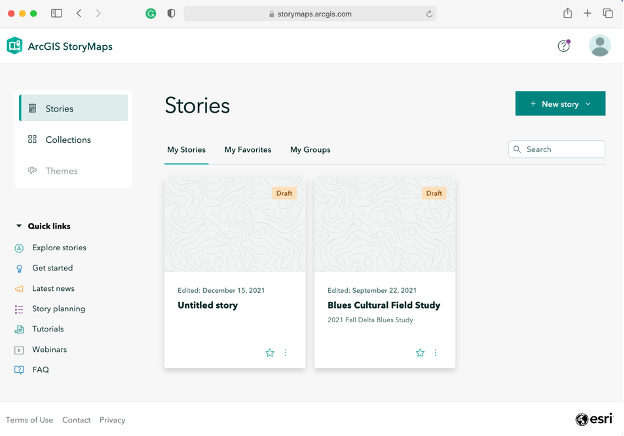
- Click “New Story” in the top right corner.
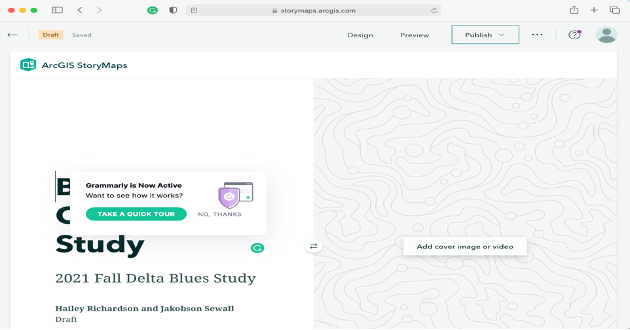
- When creating your story map you will have the options of the following:
- “Start from scratch” which has no template, and allows for more creativity, and free range.
- “Sidecar” which has a image or map that does not move, and a sliding narrative bar.
- “Guided map tour” which take you from one specific location to the next in your interactive map.
- “Explorer map tour” which allows the viewer to go anywhere on the map not following a specific order.
- Esri automatically saves your work!
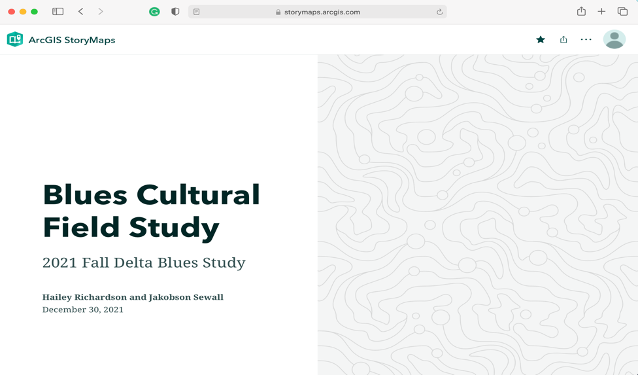
- If you want others to view, you must click publish.When you click publish you can choose between private or everyone. Private is only for you to see, where as public allows everyone to view it.
- If you publish for everyone you can share the link to your public story app.By clicking the share icon.
World Geography Example
South East Asia | Melissa Moya, July 17, 2022