Create a Folder
Follow these steps to create a new folder for your pages or files:
- Click “Add Content.”
From the “Add Content” button, start by choosing to add a new item. - Select “Folder.”
This will open the editing window. - Rename the Folder.
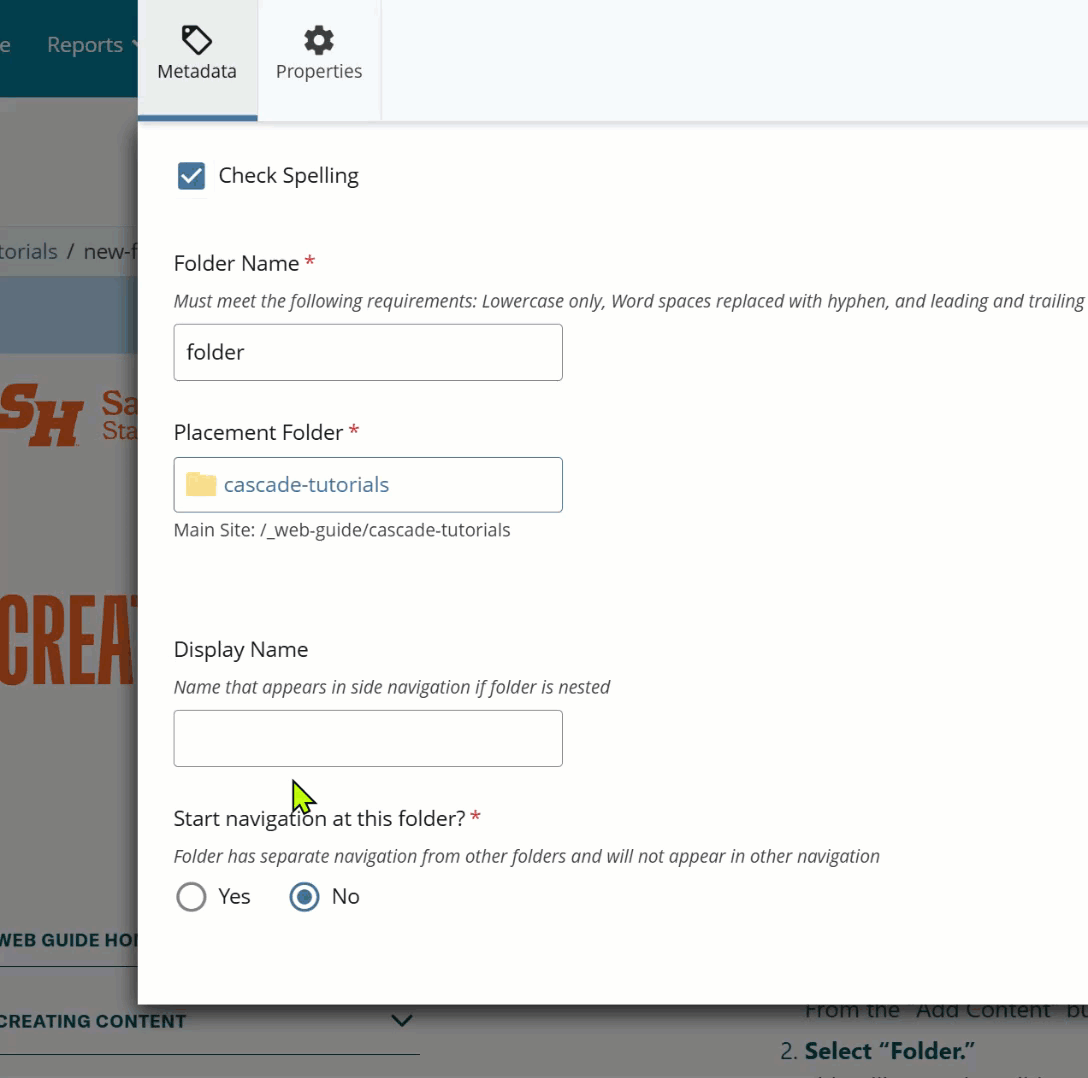
In the Folder Name field, enter a short, lowercase name using hyphens instead of spaces (for example: graduate-programs). - Check the Placement Folder.
Make sure the folder is being created in the correct location within your site structure. - Add a Display Name (Optional).
If the folder will appear in the side navigation, add a Display Name.- Folders containing multiple pages will appear as a nested menu in the side navigation. The display name will be the name of the nested menu.
- Leave “Start navigation at this folder?” set to No.
Only top-level and department folders start a new navigation. - Update Properties for File Folders.
If the folder will contain files such as images or PDFs, go to the Properties tab at the top of the edit window.- Deselect “Include when indexing.” This prevents image or document folders from showing in the side menu.
- Deselect “Include when indexing.” This prevents image or document folders from showing in the side menu.
- Click “Submit.”
Once everything looks correct, click Submit to create your new folder.
Updated 6/15/26