Create a page
Add a new page
Before you begin
Review the content standards for your page.
- Content Standards: Site-wide Standards
- Content Standards: Academic Colleges & Departments
- Content Standards: Admin & Service Departments
Steps
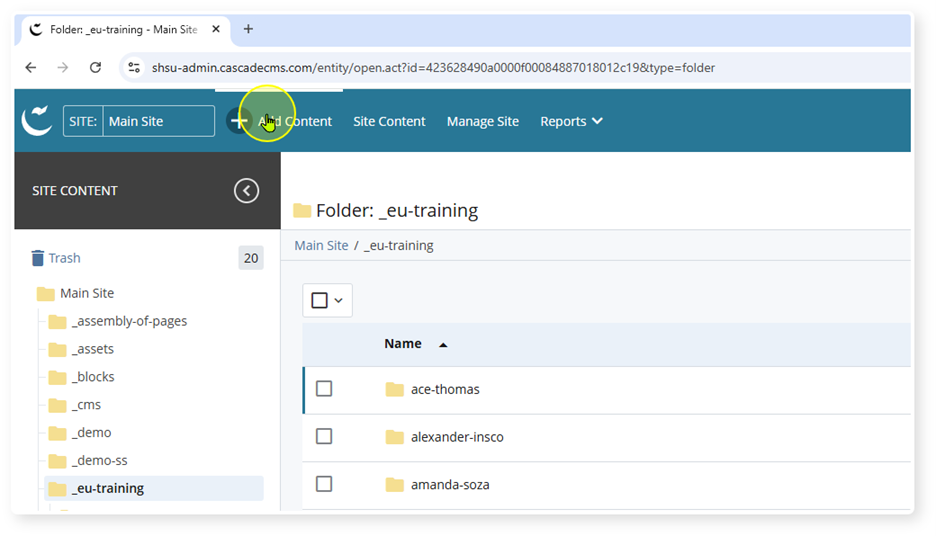
- Click "Add Content"
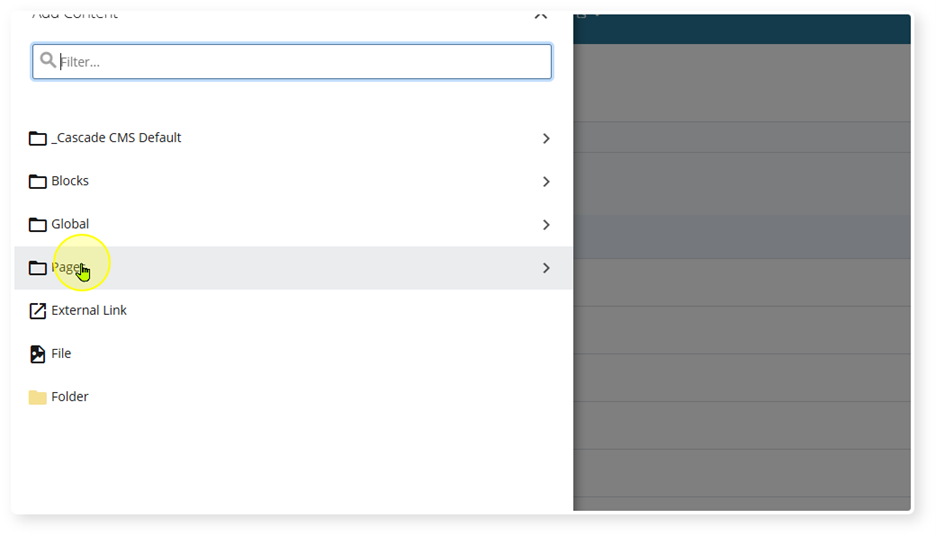
- Click "Pages"
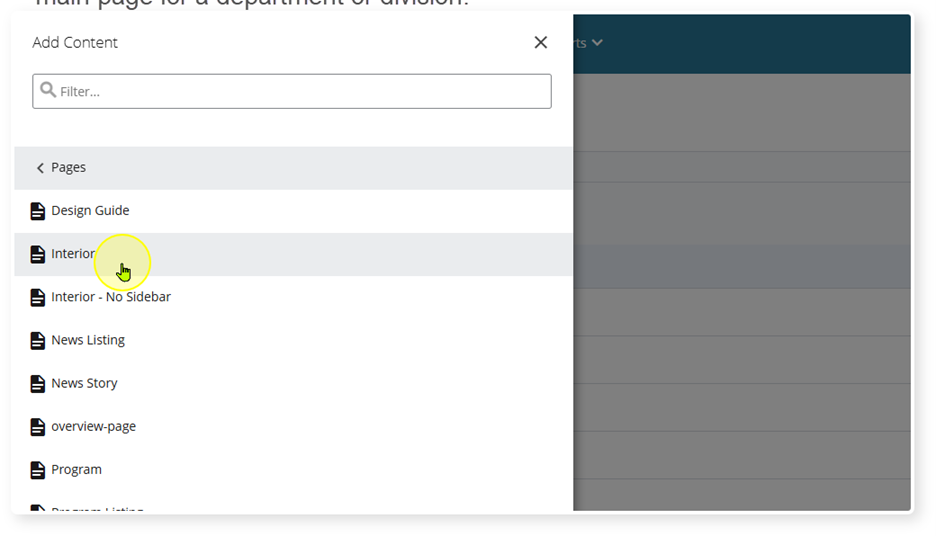
- Choose the type of page. Most pages will be interior. Overview-page is for the main page for a department or division.
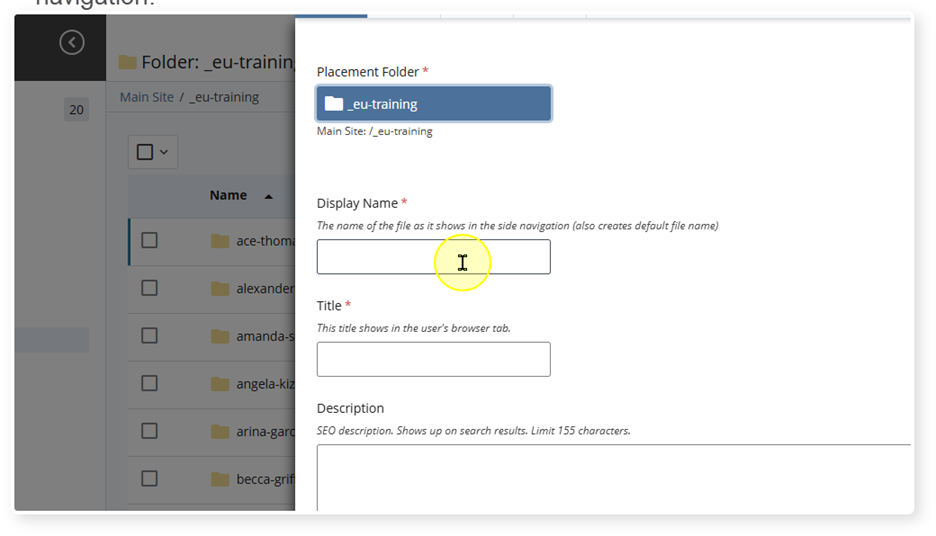
- Select the folder where the page will be located. By default, Cascade pre-selects the folder that is open.
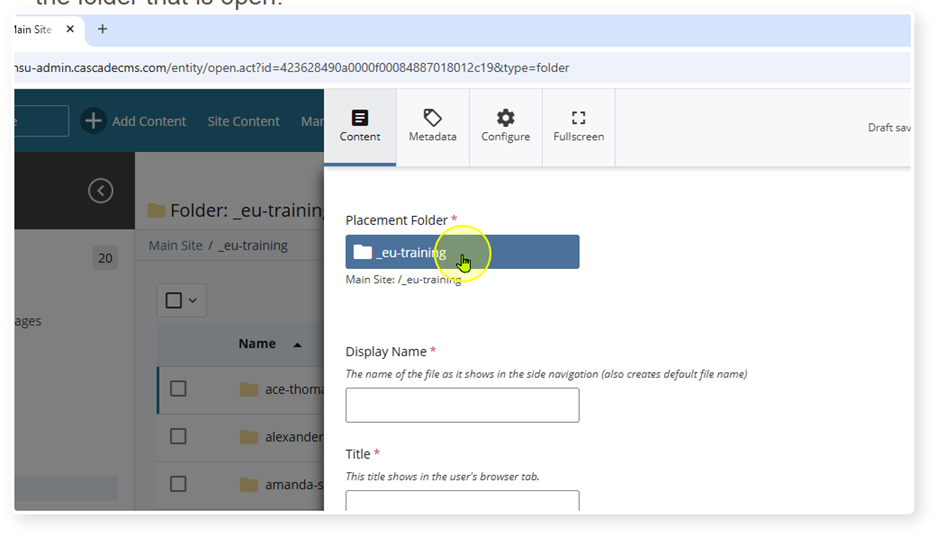
- In "Display Name" enter the name of the page as it will appear in the side navigation.
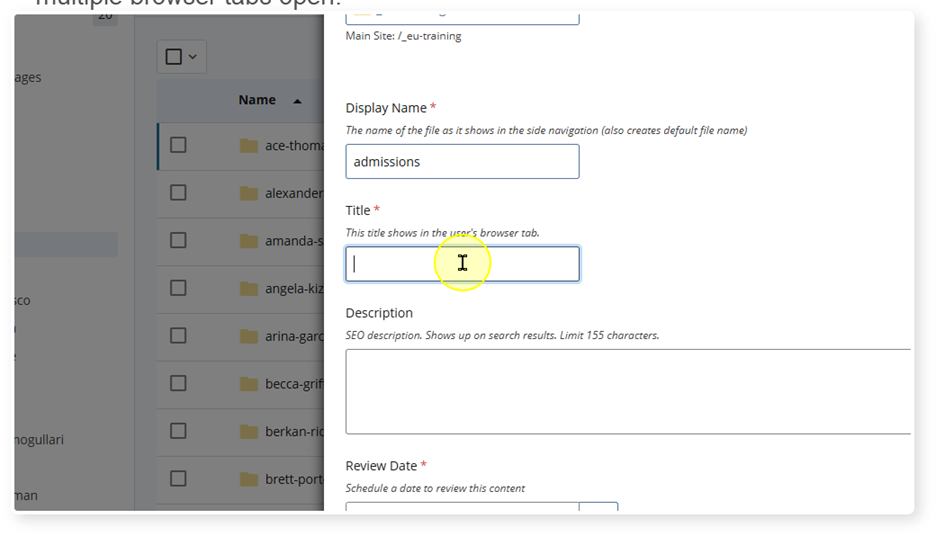
- In the "Title" field, enter a title that will help users identify the page if they have multiple browser tabs open.
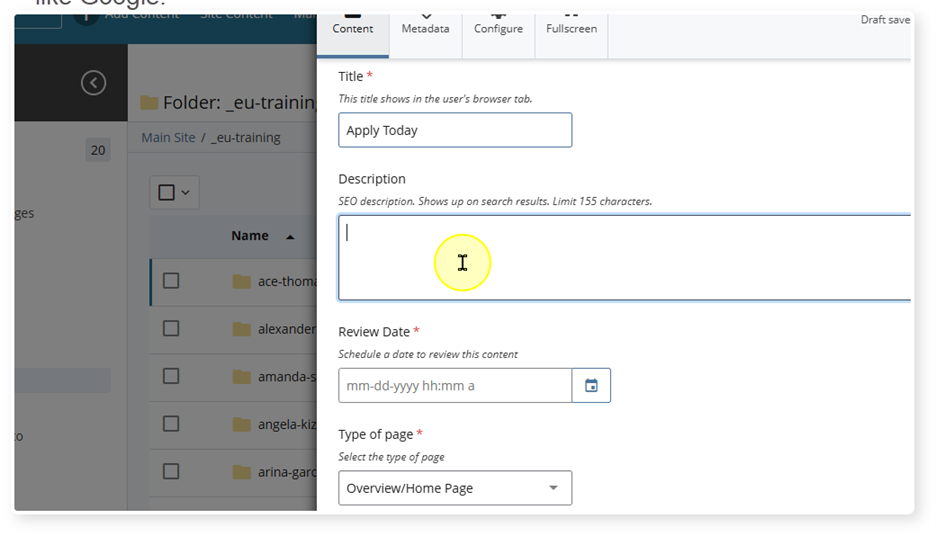
- Enter the SEO description. This description will show up on search result pages like Google. Learn more about SEO descriptions.
- Select a review date not later than one year away. This review date should be chosen based on when information is likely to change.
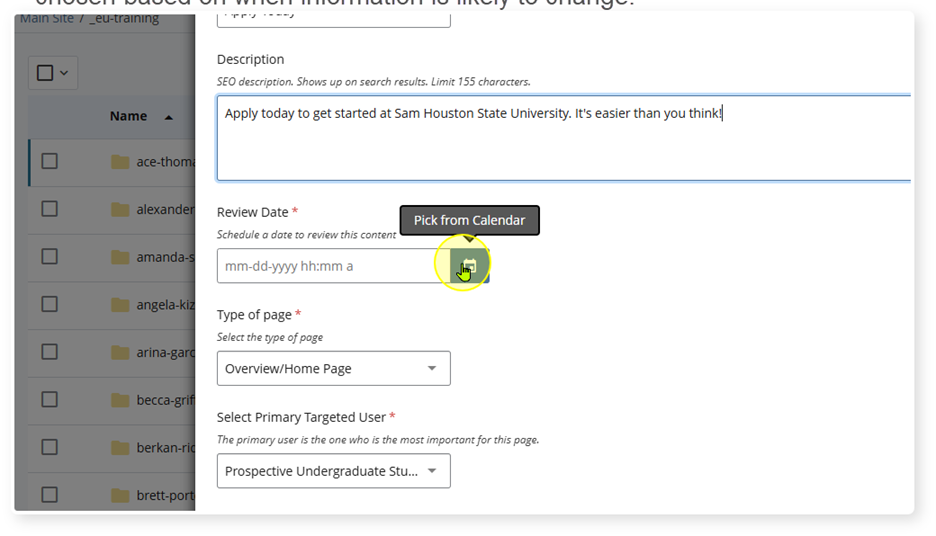
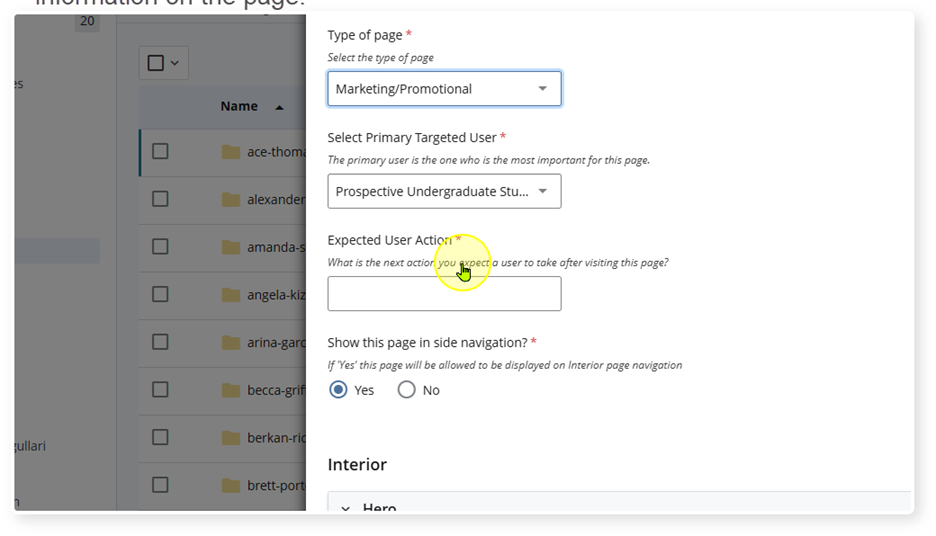
- Select the page type and primary targeted user. The primary targeted user will be the person who 51% of the information is for or the person who it is most important to reach.
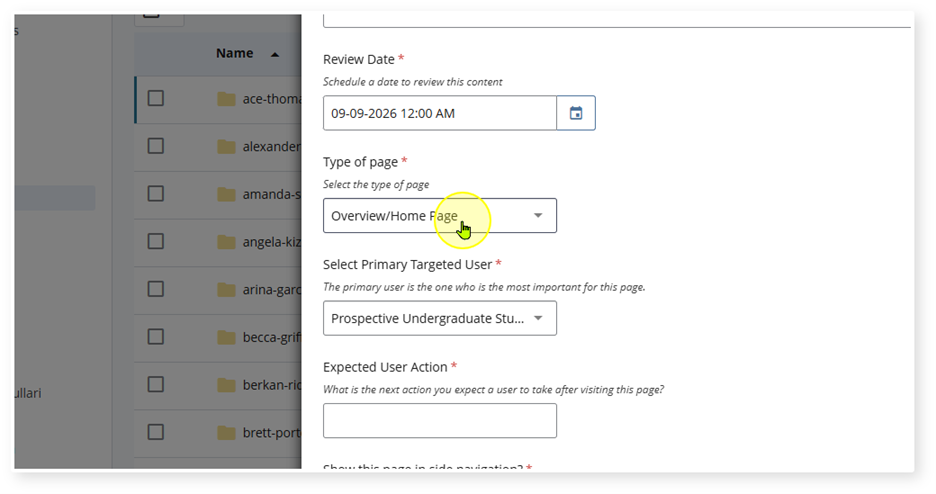
- Enter the expected user action. i.e., What do you expect the user to do with the information on the page.
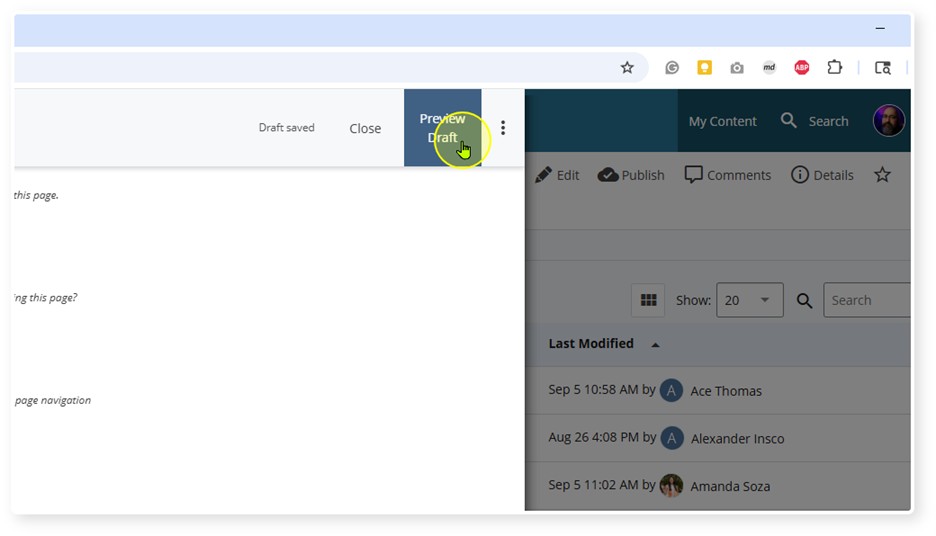
- Select "Preview Draft"
- Then select "submit"
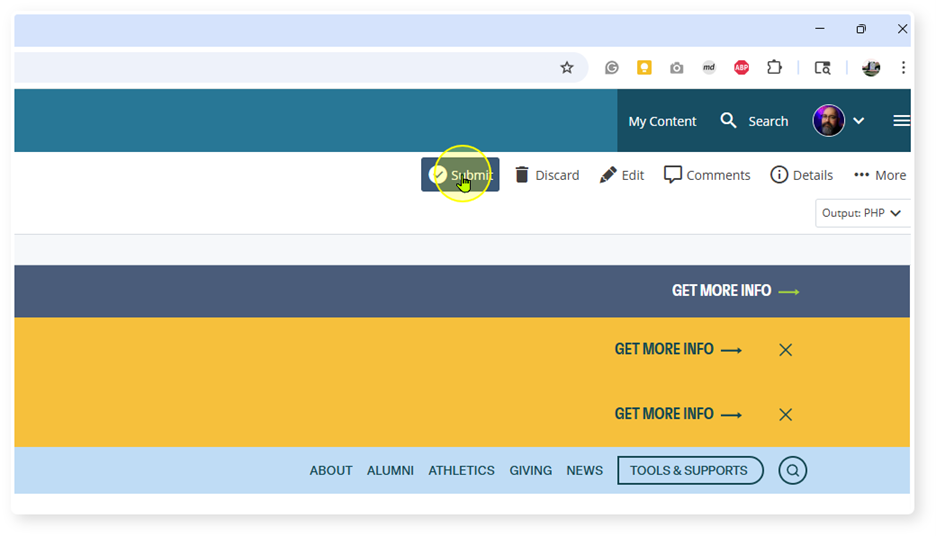
- Add a comment to explain what actions you took, the click "Check Content & Submit."
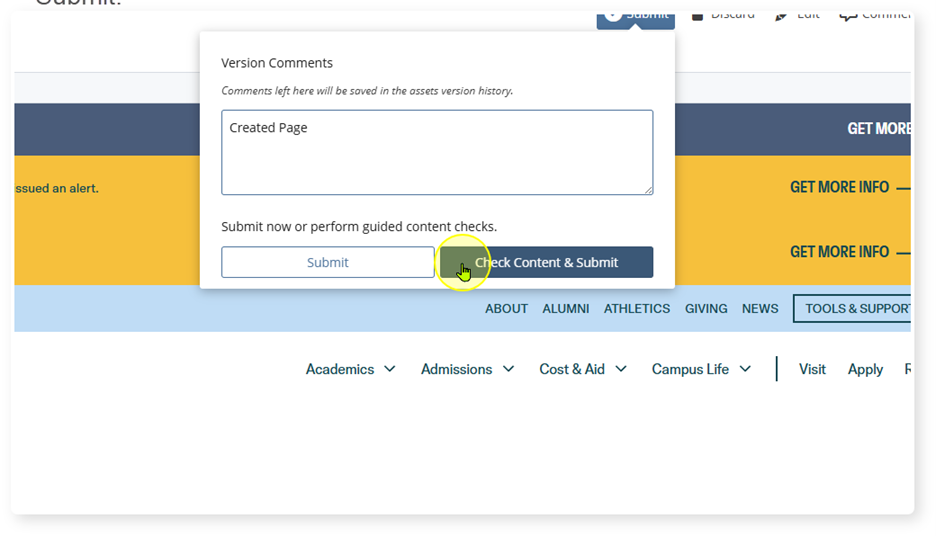
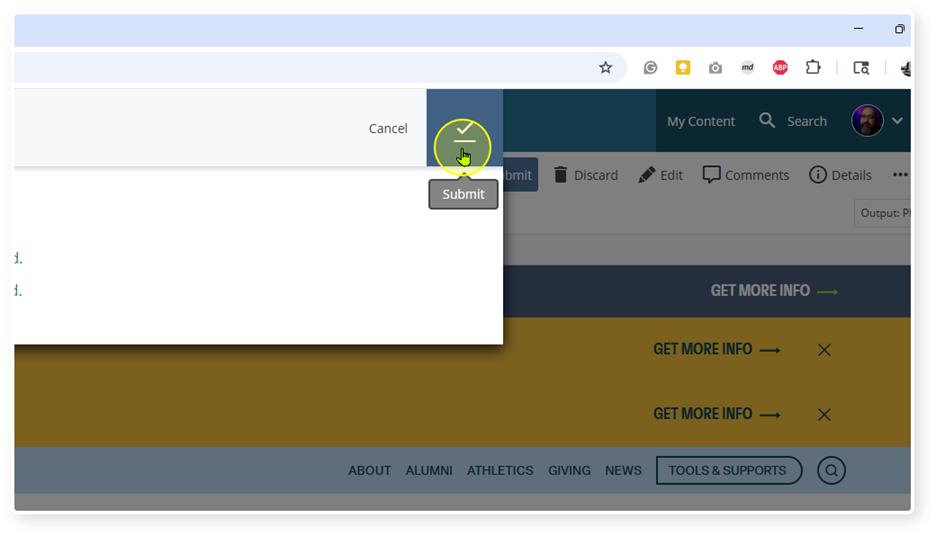
- If no errors need correction, click submit.
Rename the Page Filename
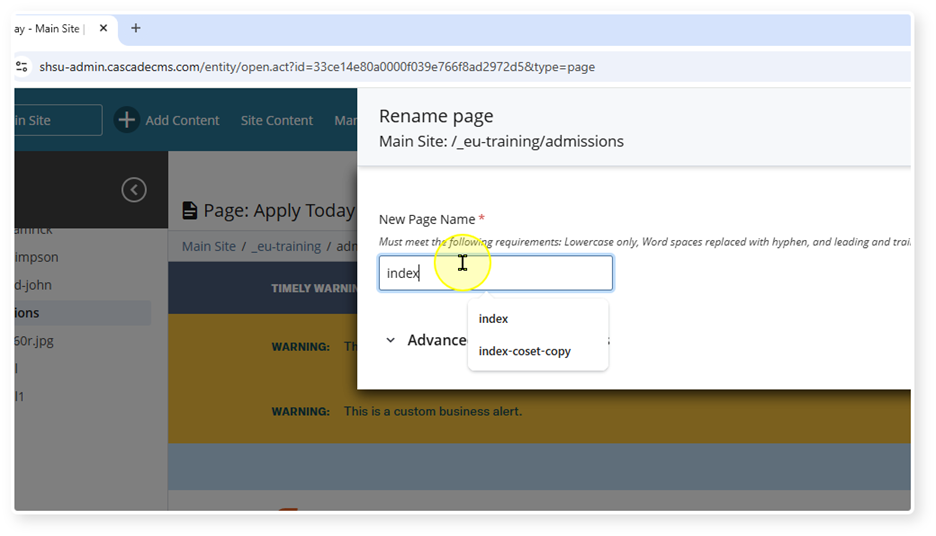
The default page of the folder must have the filename "index"
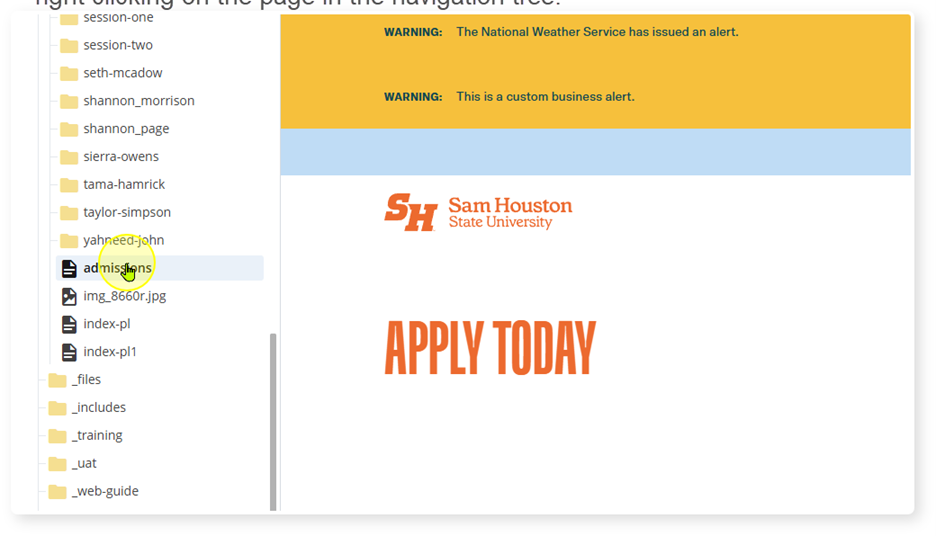
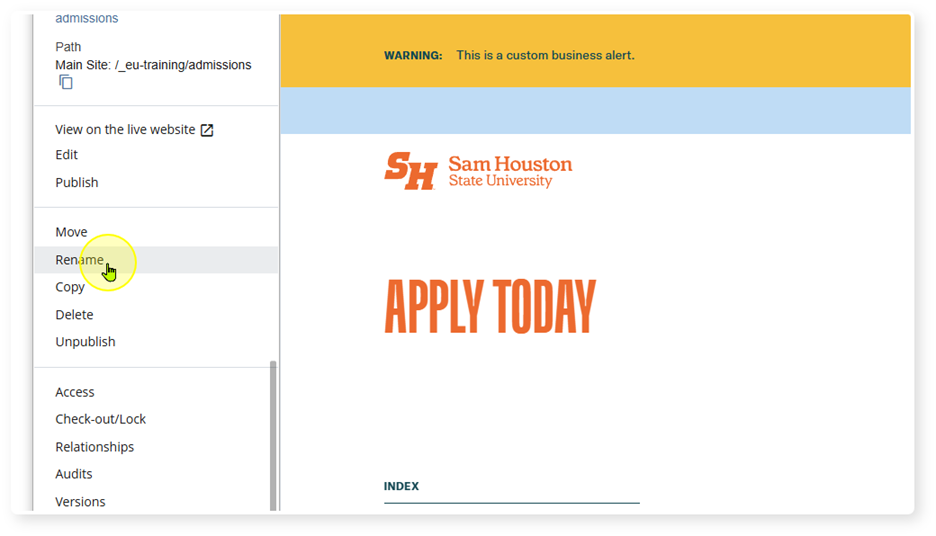
- Rename the page by right clicking on the page in the navigation tree.
- Click "More"
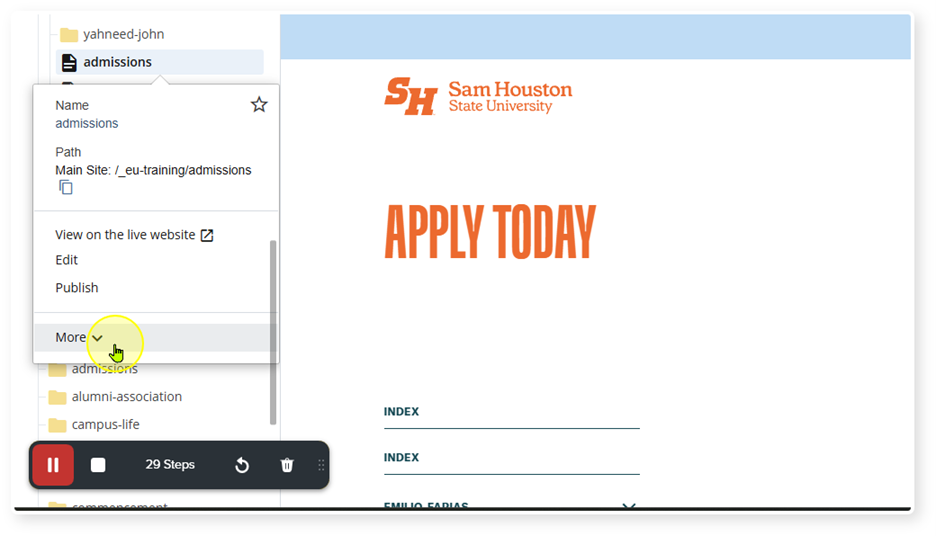
- Click "Rename"
- Rename page to "index" if it is the default page.
Updated 6/15/26