
Add Network Printers (Mac)
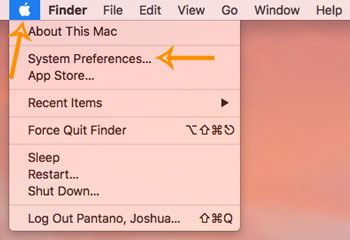
First, select the Apple Logo and select System Preferences.
Select Printers and Scanners.
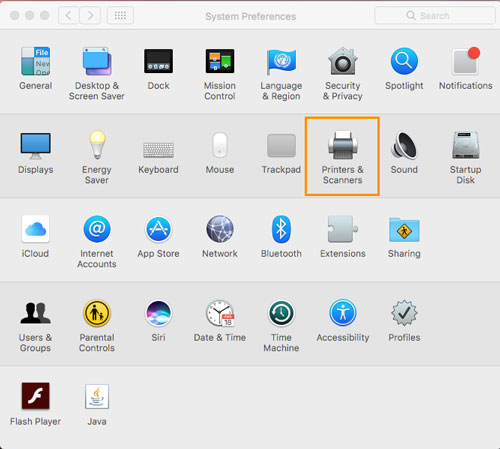
Then click the Plus (+) sign to add a printer.

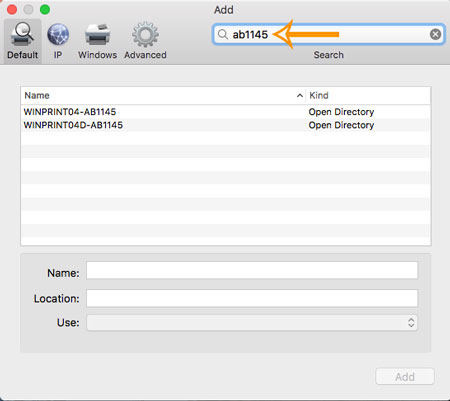
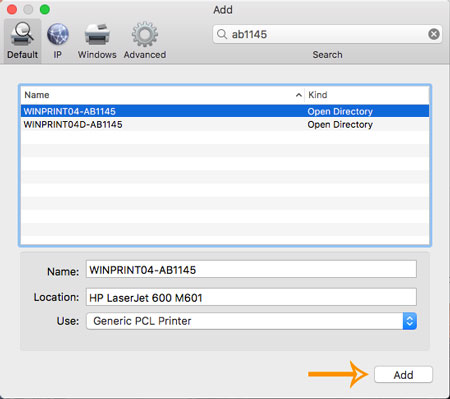
In the Default options, type the name of the printer in the search area in the upper right portion of the screen. Once the printer is displayed in the list, double click it.
In the Use drop down area, select Generic PCL Printer.
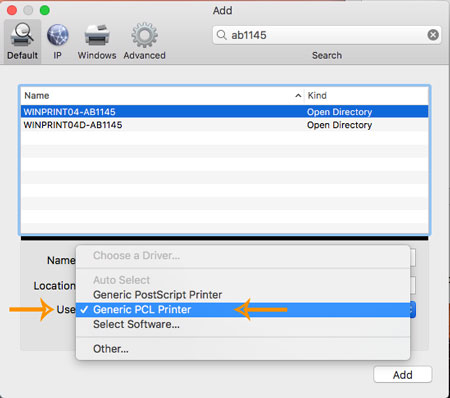
Then select Add.
The Setting Up notification should display.

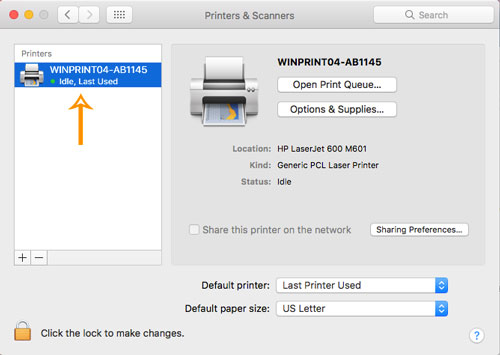
After the installation finishes, it should be listed in the Printers location of the Printers & Scanners window.
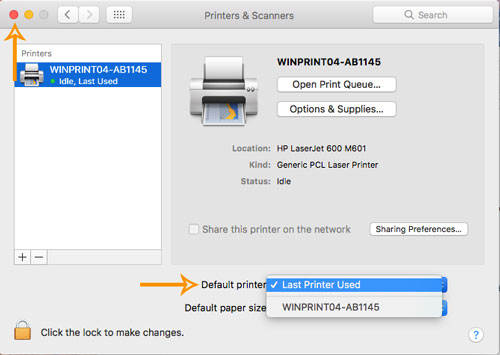
The printer can then be set as the default printer by selecting it from the default dropdown toward the bottom of the screen. The Printers and Scanners dialogue box can be closed by selecting the red circle in the upper left of the box.
This video will walk through the steps as well.